Fixings and innovative solutions for pros at CELO
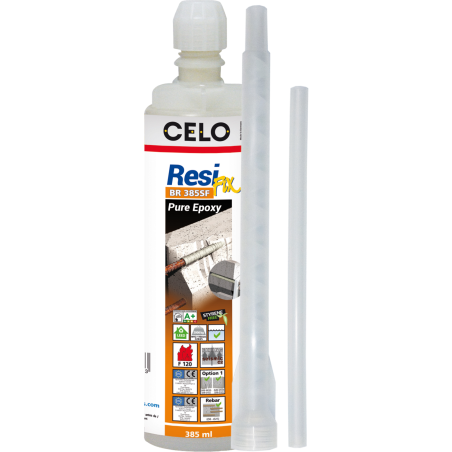
Injection mortar ResiFIX BRSF, Pure Epoxy
ResiFIX - For everyone the appropriate system
Product overview
Show more
With injection mortar ResiFIX BRSF, Pure Epoxy you have a special product for large projects. ResiFIX Pure Epoxy is ETA-approved for cracked concrete (option 1) and reaches very high load values due to its excellent chemical resistance. It is therefore perfectly suitable for heavy duty fixings free of expansion forces of anchor and threaded rods, gate steel, square pipes, as well as bolts and screws of all kinds in concrete.
List of references
Reference
385CRPE
Material
Epoxyacrylate
Content [ml]
385
Packaging units
1
Packaging type.
Cartridge
Applications
- Steel constructions
- Cantilevers
- Facade substructures
- Machines
- Guard rails
- Canopies
- Distance mountings
- Window and door frame fixings
- Wood constructions


Further specifications
Key features:
- ETA approved for non-cracked and cracked concrete (option 1)
- ETA-Approval for post-installed rebar
- Usable under seismic action
- LEED tested - Sustainability certification for environmentally friendly, low-pollutant, low-emission and sustainable construction products
- Fire resistance certificate R120
- Excellent chemical resistance
Base materials
- Concrete
- Natural stone
- Hard concrete
How to install
Mounting in concrete and solid brick
Mounting in hollow brick
Do you have any questions about this product?
Request more info


