Fixings and innovative solutions for pros at CELO
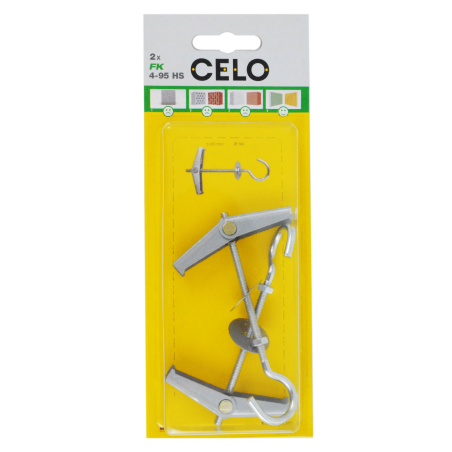
Spring toggle FK 4x95 HS with hook, washer and hexagon nut


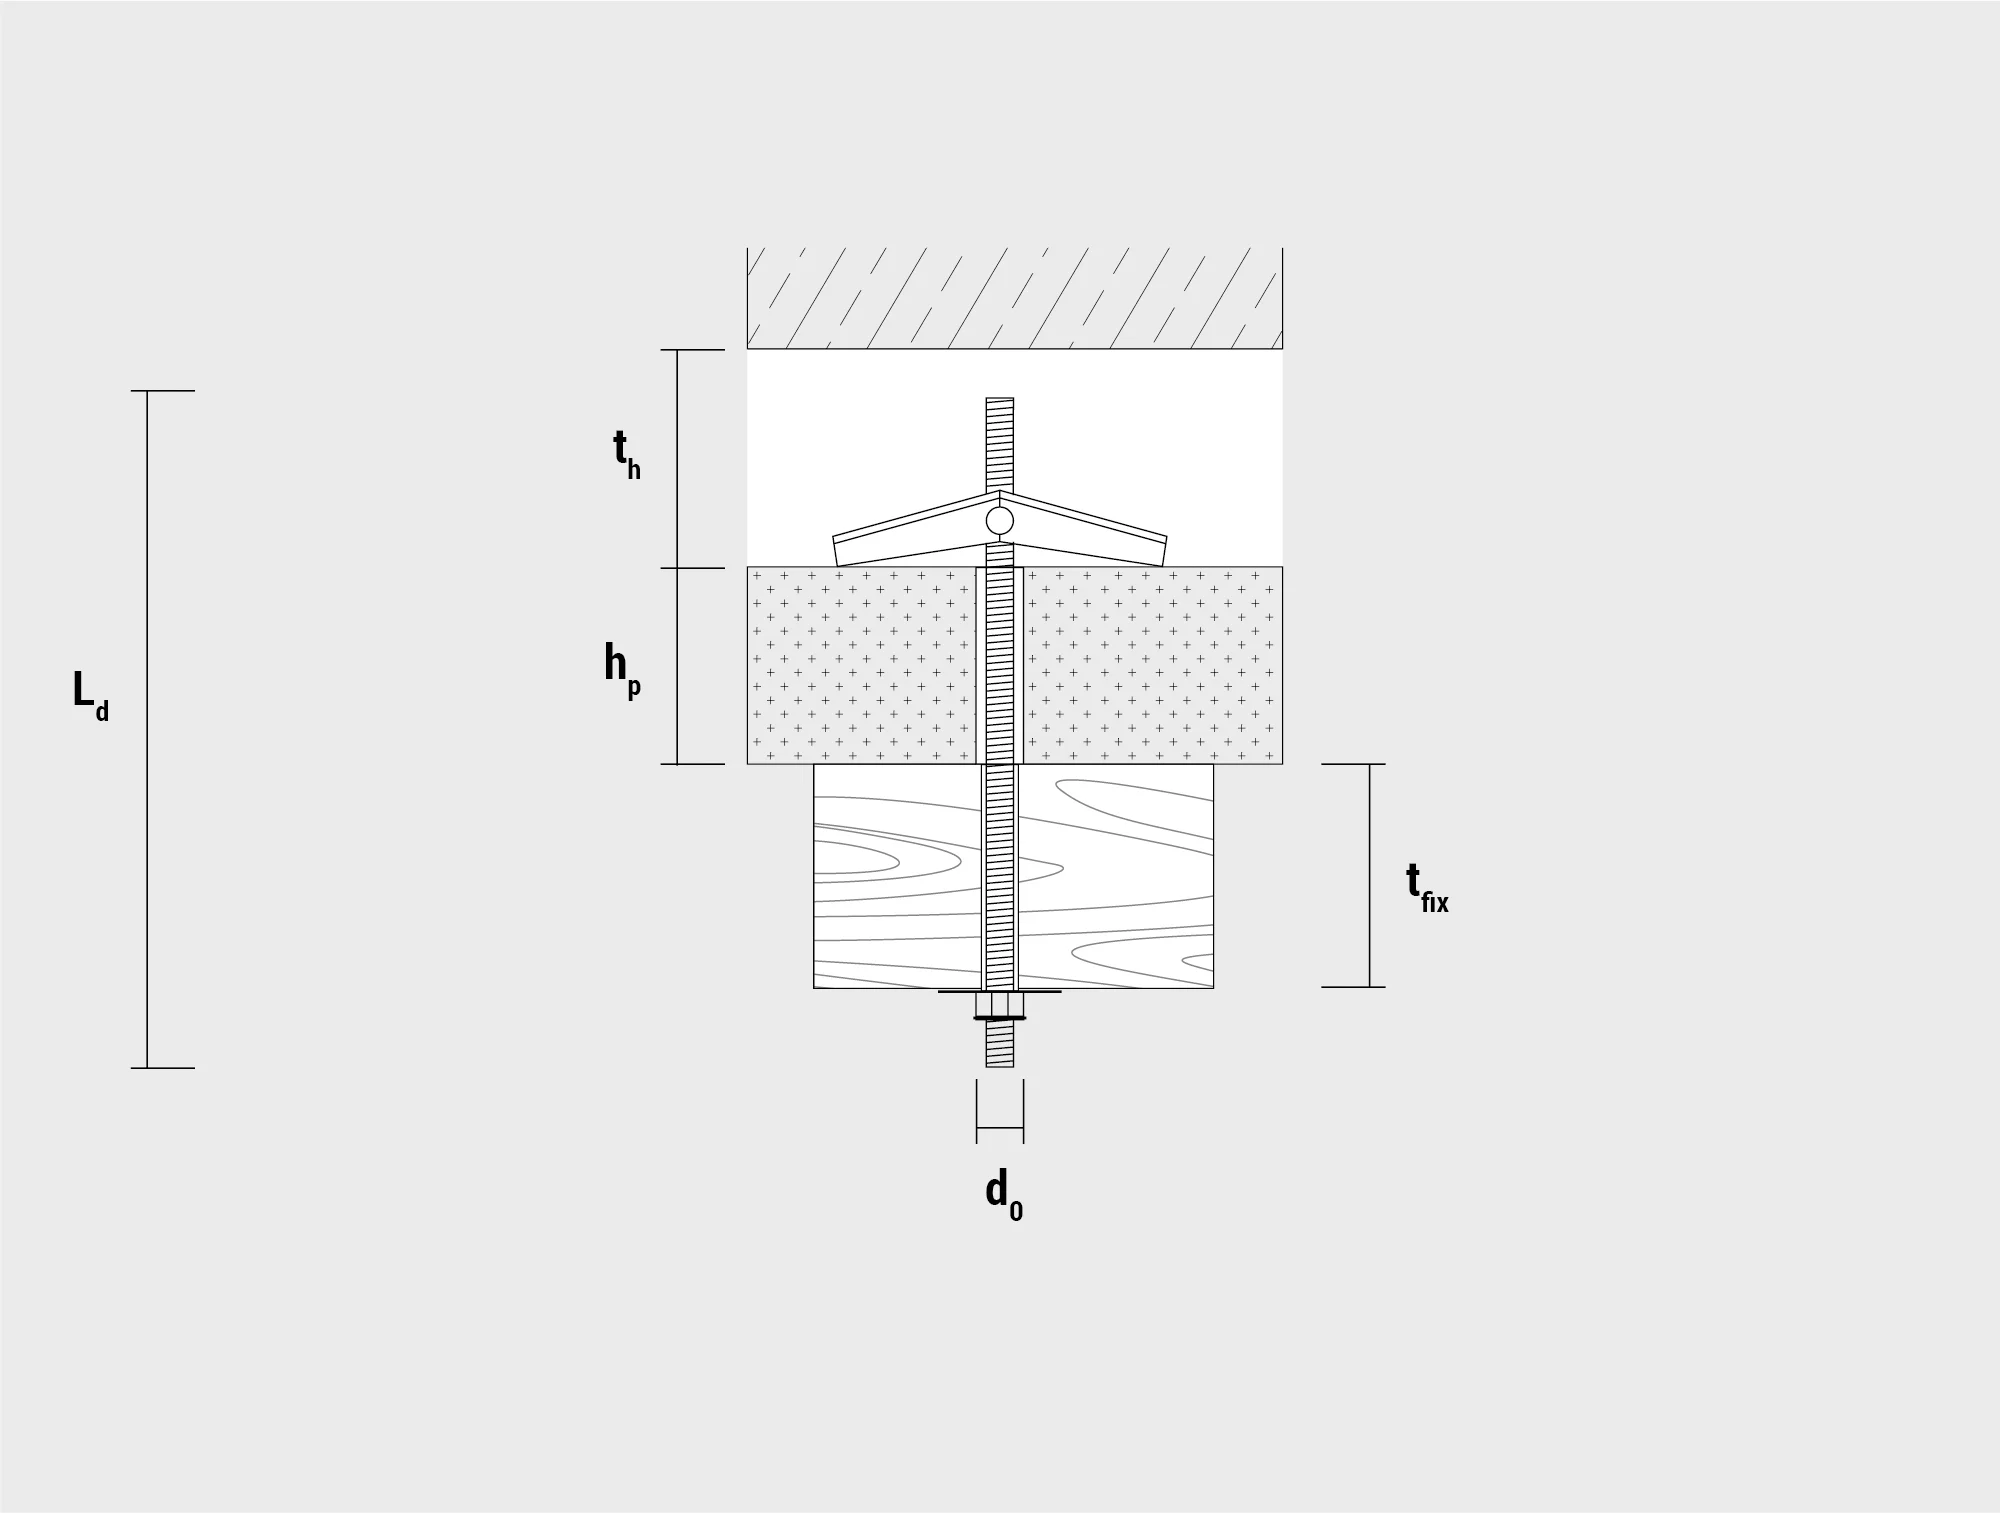
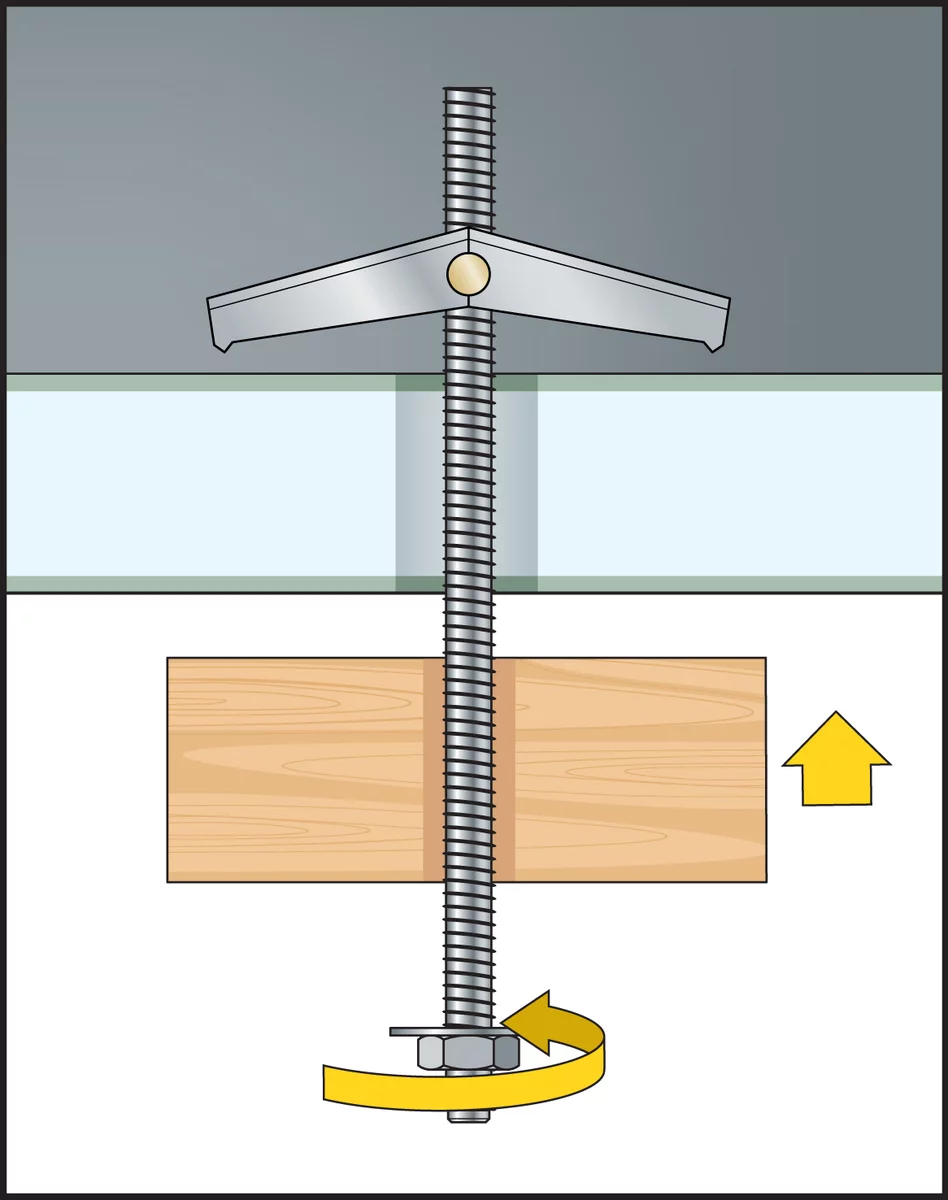
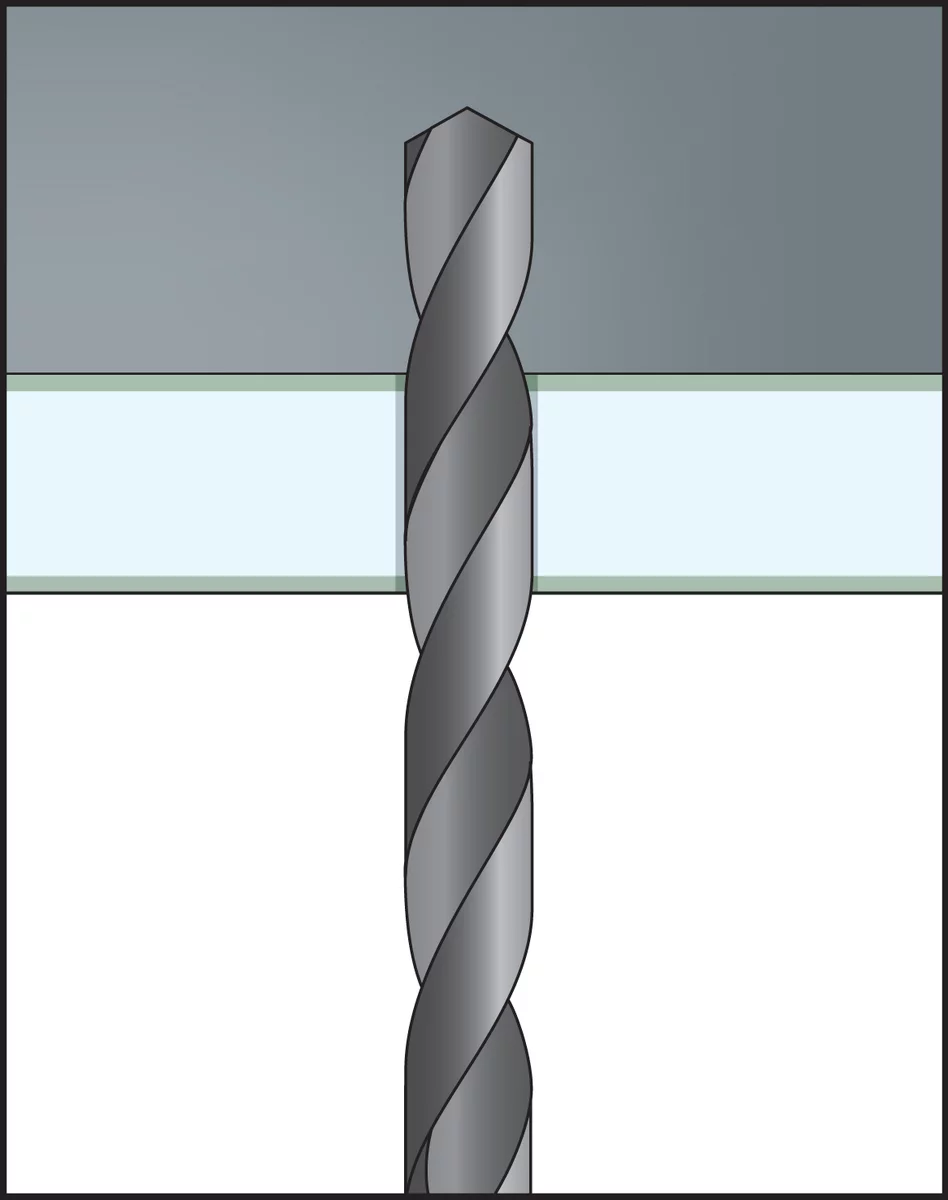
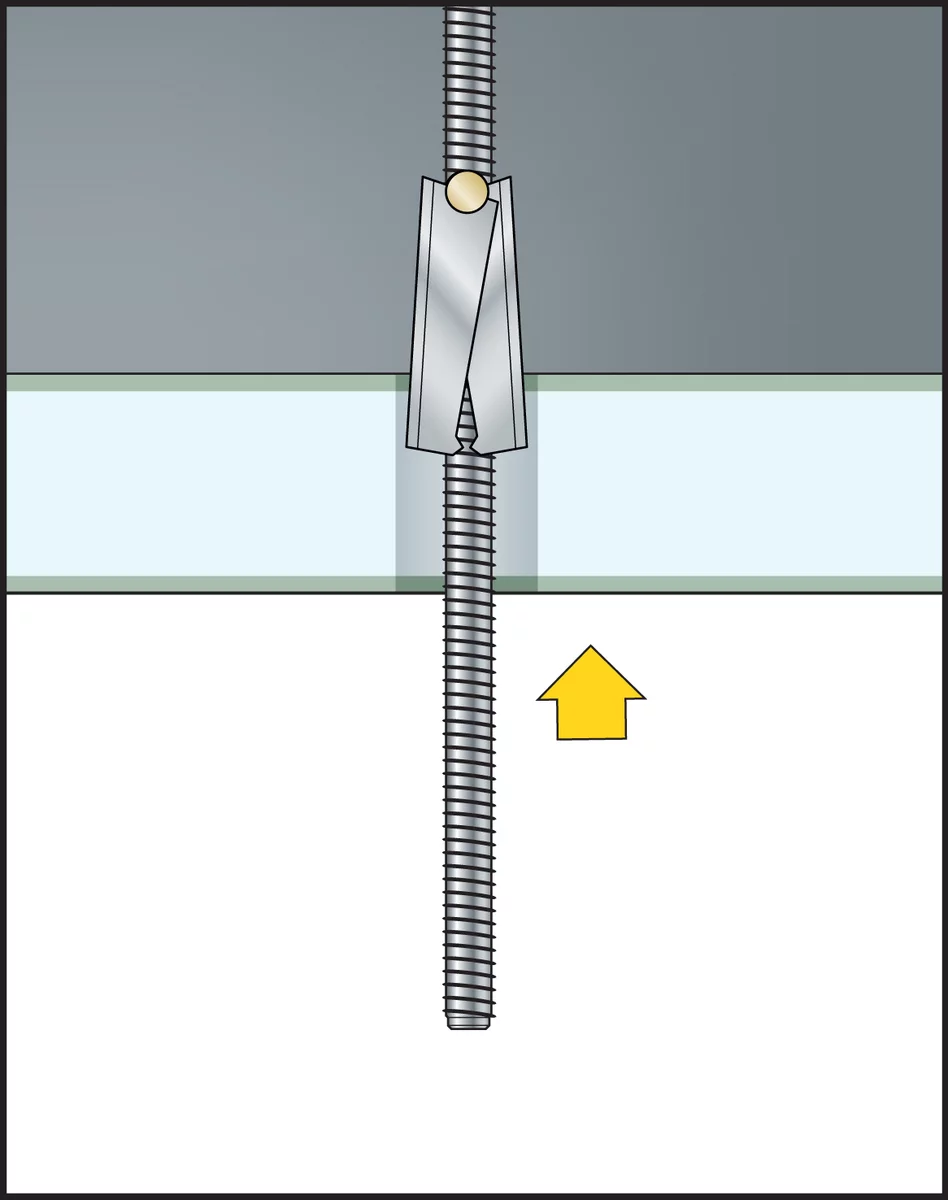
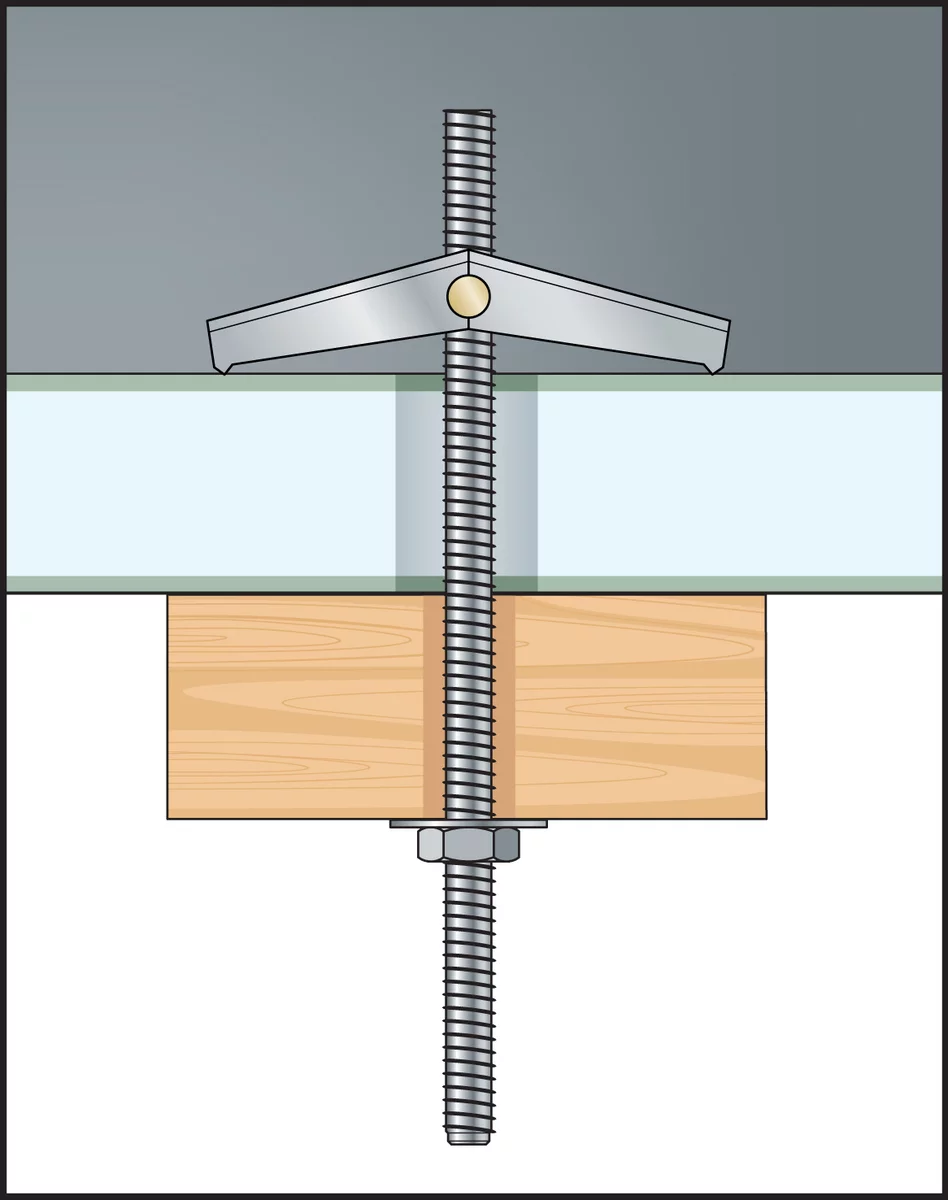
The spring toggle FK 4x95 HS with hook, washer and hexagon nut is your solution for fixings in cavity ceilings or walls, and boards like gypsum boards or chipboards. Profit from the easy and fast mounting: Press together the spring toggle and push it through the drill hole. In the free space behind the board the spring toggle folds back and anchors. Due to the long threaded rod the spring toggle can be installed in many different board thicknesses.
The spring toggle is available in four different types: 1) FK-S with washer and hexagon nut, 2) FK-HS with hook, washerand hexagon nut, 3) FK-R with knurled nut, yellow galvanized, 4) FK-UR with knurled nut and washer yellow galvanized.
- Lighting
- Wall rack
- Curtain rail
- Mirror
- Sliding door profiles


Key features:
- Suitable for fixings in cavity ceilings or walls, and boards like gypsum boards or chipboards
- Quick and easy handling as the plug enfolds automatically
- Flexible usage due to long threaded rod
Base materials:
- Cavity ceilings
- Cavity walls
- Chipboards
- Drywalls
- Plasterboards


Do you have any questions about this product?
Request more info